Whoops, little bit behind schedule here.
It’s been midterm week at Casa Emily and I haven’t had as much time for the writing part of this gig as I’d have liked. But anyway! I’ve finally gotten my butt in gear and can share one of my favorite meal/snack/omnomnom things with you guys.
I go to school in a pretty cool neighborhood. It’s urban, artsy, lots of students, indie shops, and cool architecture. I’m a fan.
And there’s this awesome coffee house/bar/café thing just North of campus, called Sitwells. (Holy crap they do these cocktail milkshakes that are A Problem. Seriously. You can’t even taste the alcohol and suddenly it’s “Oh right, this milkshake is 80 proof. Crap.” and “When did they move the floor?”)
A dear friend of mine (RachelHC over at Tuesdays with Mollie, check it out!) introduced me to the place. We’d go, sit, drink coffee, and talk for several hours at a time. During one of these sessions Rachel ordered this amazing dish. At Sitwells, they call it the Brie Snack.
And she let me have some, because she’s awesome like that.
There may also have been pouting. But let’s not dwell.
Anyway.
This was AMAZING. The textures, the flavors, and the way I can pretend it’s actually sort of healthy for me while I sit there and eat a plate of cheese…it’s an experience I wanted as frequently as I could get it.
But, well, I can’t always make it to Sitwells.
It’s cold as butt outside and I want to hide in my apartment and ignore the universe.
And eating out so frequently is a little expensive for a college student.
So I decided I could make it myself.
It seemed simple enough, nothing too complicated, so I tromped over to the local grocery store and gathered my ingredients.
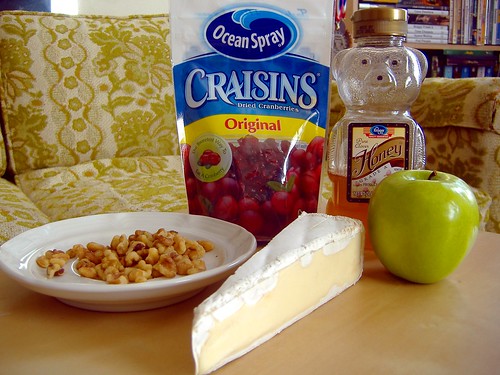
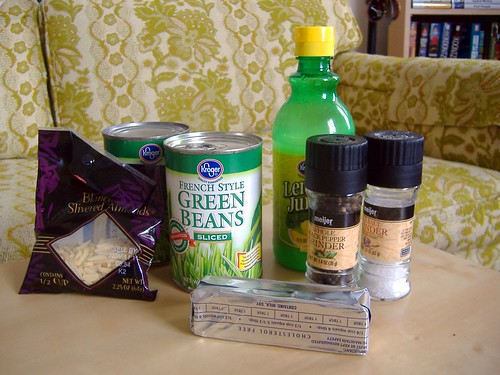
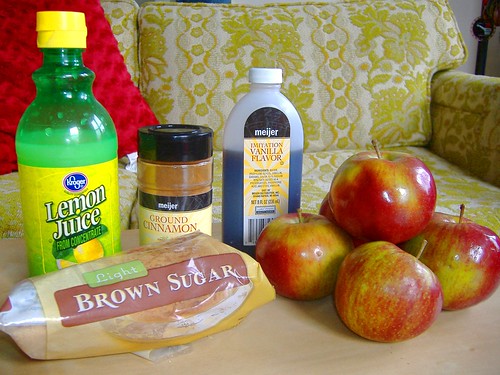
Players
So here’s what we need: brie, honey, dried cranberries, walnuts, and an apple.
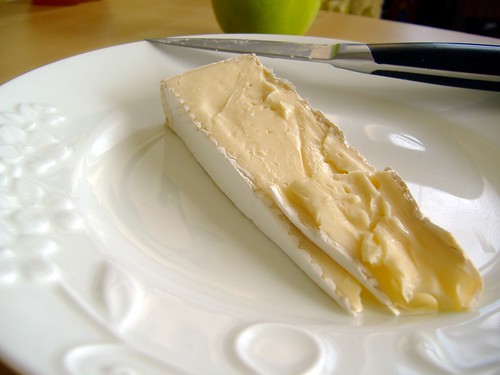
To start with, let’s prep the Brie.
My local grocery is pretty awesome about specialty cheese. They carry a decent assortment in spite of the fact that no one apparently buys it, because Brie is on manager’s special for super cheap really regularly.
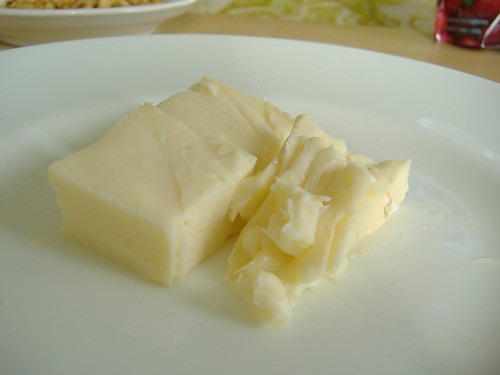
I started with an 8 oz wedge, which I cut into four skinny wedges.
I use one 2 oz wedge per serving.
Brie also has a rind on the outside. Now, it’s edible, and I don’t mind it myself, but it’s easier to eat this preparation if it’s gone, so slice that puppy off.
This knife is part of the kitchenaid set that Rocket Scientist's mom gave us. It's fairly awesome. Sharp knives are of the good.

Now we have a skinny naked wedge of brie. I cut that into three pieces, and sort of smooshed them together.
Since they’re the same size-ish and cut pretty narrowly, they’ll melt easier and we won’t have to worry quite as much about the cheese separating out and becoming all oily and weird.
More on that later.
So, go stick this in the microwave (don’t heat it yet!) and let it wait until we’re ready.
Teaches the cheese patience and maturity.
Right.

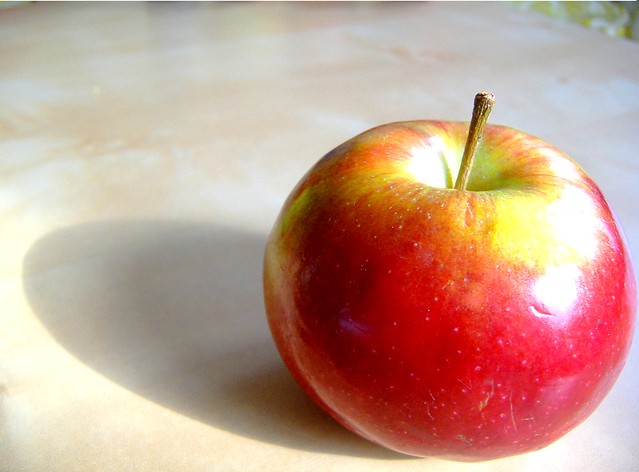
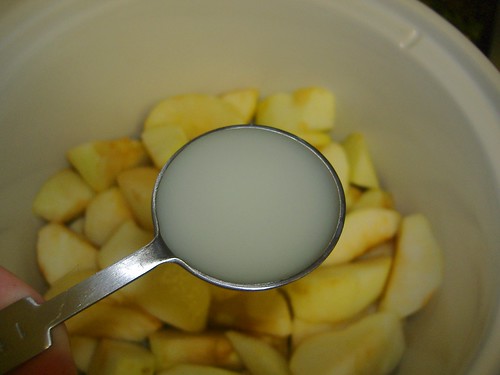
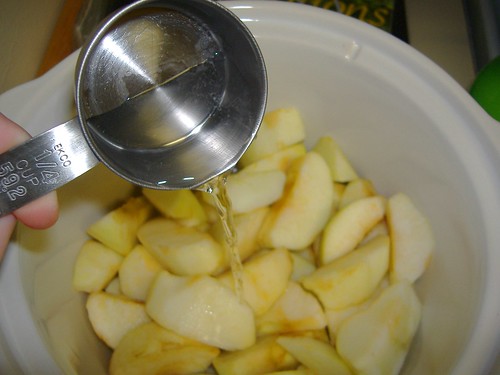
So we’re going to slice this apple up.
I used Granny Smith because that’s what they use at Sitwells, and I think that the tart flavor combines with the honey and rich cheese quite well.
But if you have a different kind of apple? I won’t tell anyone.
Promise.

So once I had the apple in big slices, I cut them smaller, because there needs to be the proper cheese to apple ratio.
It’s very important.
Also, you might not have enough apple to scoop up all of the cheese, and you’d have to eat it with your fingers and lick the plate and that just isn’t dignified.
And I’ve totally never done that.
Ahem.
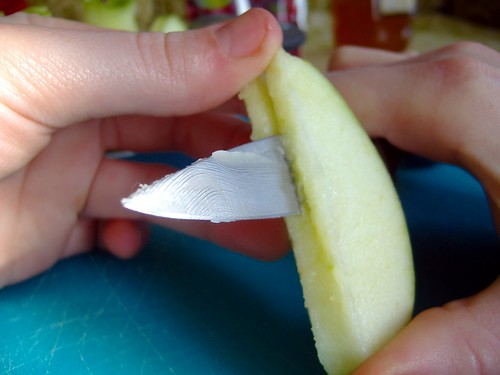
Anyway, just slice each thickish wedge in half.
This is actually safer with a sharp knife. Dull knives are dangerous!

Once you’re done you’ll have a promising row of happy green apple wedges.
(Some of these were hiding bits of core. They were sneaky little gits. Try to avoid that. CONSTANT VIGILANCE!)
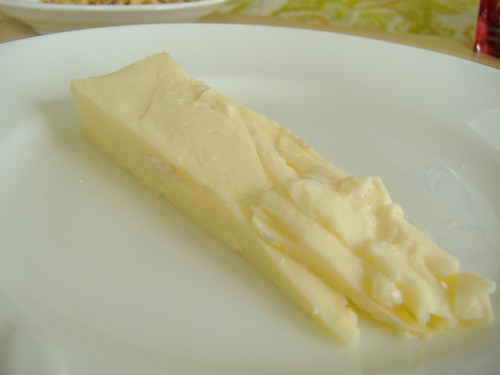
Now we’re going to nuke the cheese.
You want to do it in short bursts, because brie is just waiting to separate into curdly bits and oily stuff.
I’d totally still eat it, but it wouldn’t be as nice.
So, maybe reduce the power on your microwave, but I nuked it in 10 second bursts on high, and poked it in between to smooth it around and check for separation.
It doesn’t have to be melted exactly, just softened.
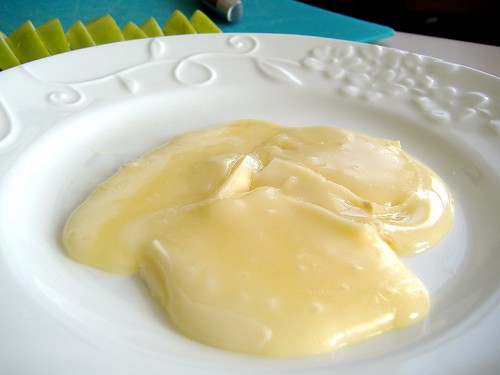
This looks good.
So now we’re going to top it with all sorts of deliciousness.
First, honey.

Ooh, yes. I love honey.
When I was in Greece, there were these shops, mele shops, that were specialty boutiques that sold different varieties of honey.
It was bliss.
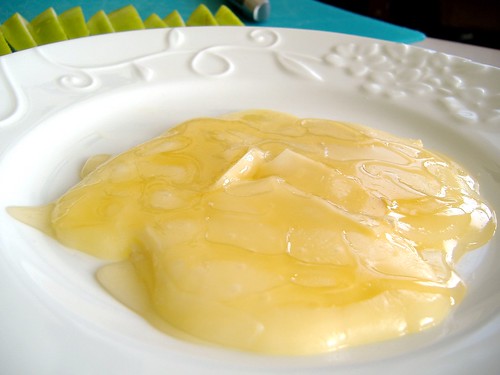
Hello, beautiful.
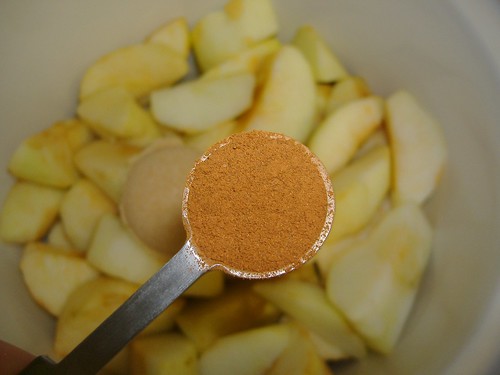
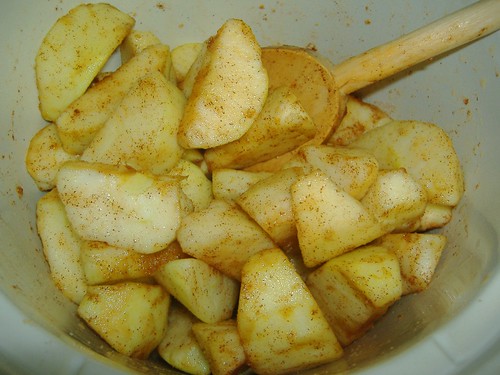
Now we’re going to add some color.
Dried cranberries (I’m using Craisins) are fantastic, but I think that any dried fruit, as long as it’s a little chewy and a little tart would be amazing.
(Note: Please remember to use your weirdly giant hand. And yes, I bite my nails.)

Now top with some walnuts.

I never used to be a big fan of walnuts, but this dish has won me over.
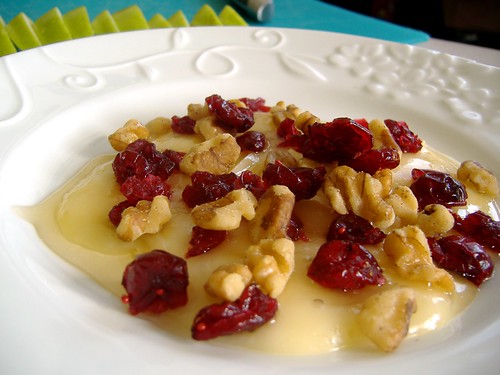
Look at that.
Just look at it.
That, is glorious.
“But Emily!” I imagine you’re saying, because you aren’t here and I can imagine you’re saying anything I like.
And that wasn’t very nice.
“Emily! How am I supposed to eat this gloriousness?”
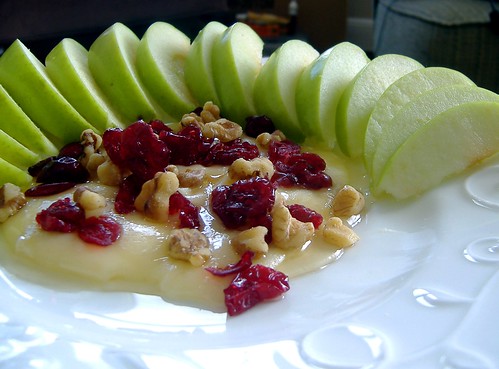
That, my dear friend, is where the apples come in.
Line those slices around the edge of your plate.
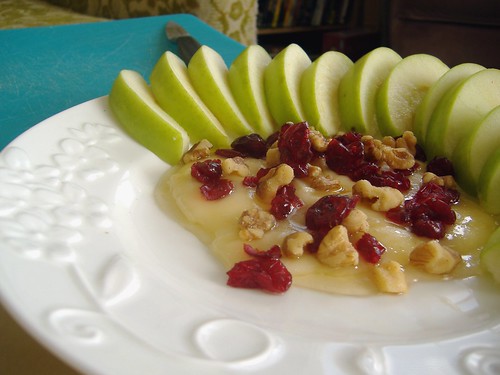
And…scoop.
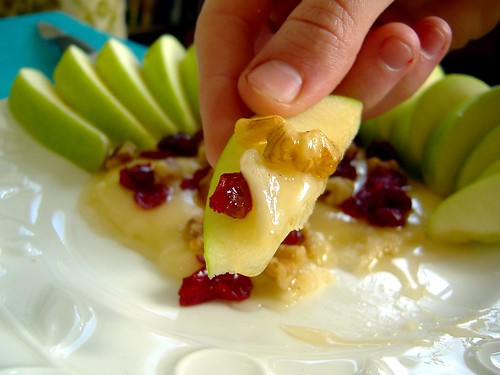
Silverware has no place here.
This is natural. This is right.
This is…

Om nom nom.
If you're sharing, you may have to negotiate on the double-dipping.
But I don't share.
This is lunch.
If you’ve never had brie, try it. It’s good. But it’s definitely a problem that I know how to make this at home.
And now it’s your problem too!
Recipe:
1 Granny smith apple
2 oz brie cheese
Honey
¼ cup (more or less, to taste) walnuts
¼ cup (more or less, to taste) dried cranberries
Remove rind from cheese. Cut into uniform thickness and set aside.
Slice apple into thin wedges.
Microwave brie in short bursts on reduced power until softened.
Drizzle with honey, top with cranberries, walnuts.
Serve with apple slices, for scooping.